Getting Started
Special
SINGLE SIGN-ON
Teams
Users
Escalation Policies
Service
Incident
Request
On-Call Shift
Schedules
Schedule Override
API Token
Logs
Webhook
Apps Integration
Reports
Preference
Profile
Automation
Self-Service Portal
FAQ
Self-Service Portal SAML 2.0
Enable Single Sign On (SSO) for your Self-Service Portal Page with any SAML 2.0 based SSO.
Following this integration guide, so you can set it for your Self-Service Portal Page.
Setup SSO
On the Self-Service Page, after selecting SAML 2.0 under the Security category, click the Configure SAML button to begin the setup process.
A configuration screen will open where you can enter and customize the details.
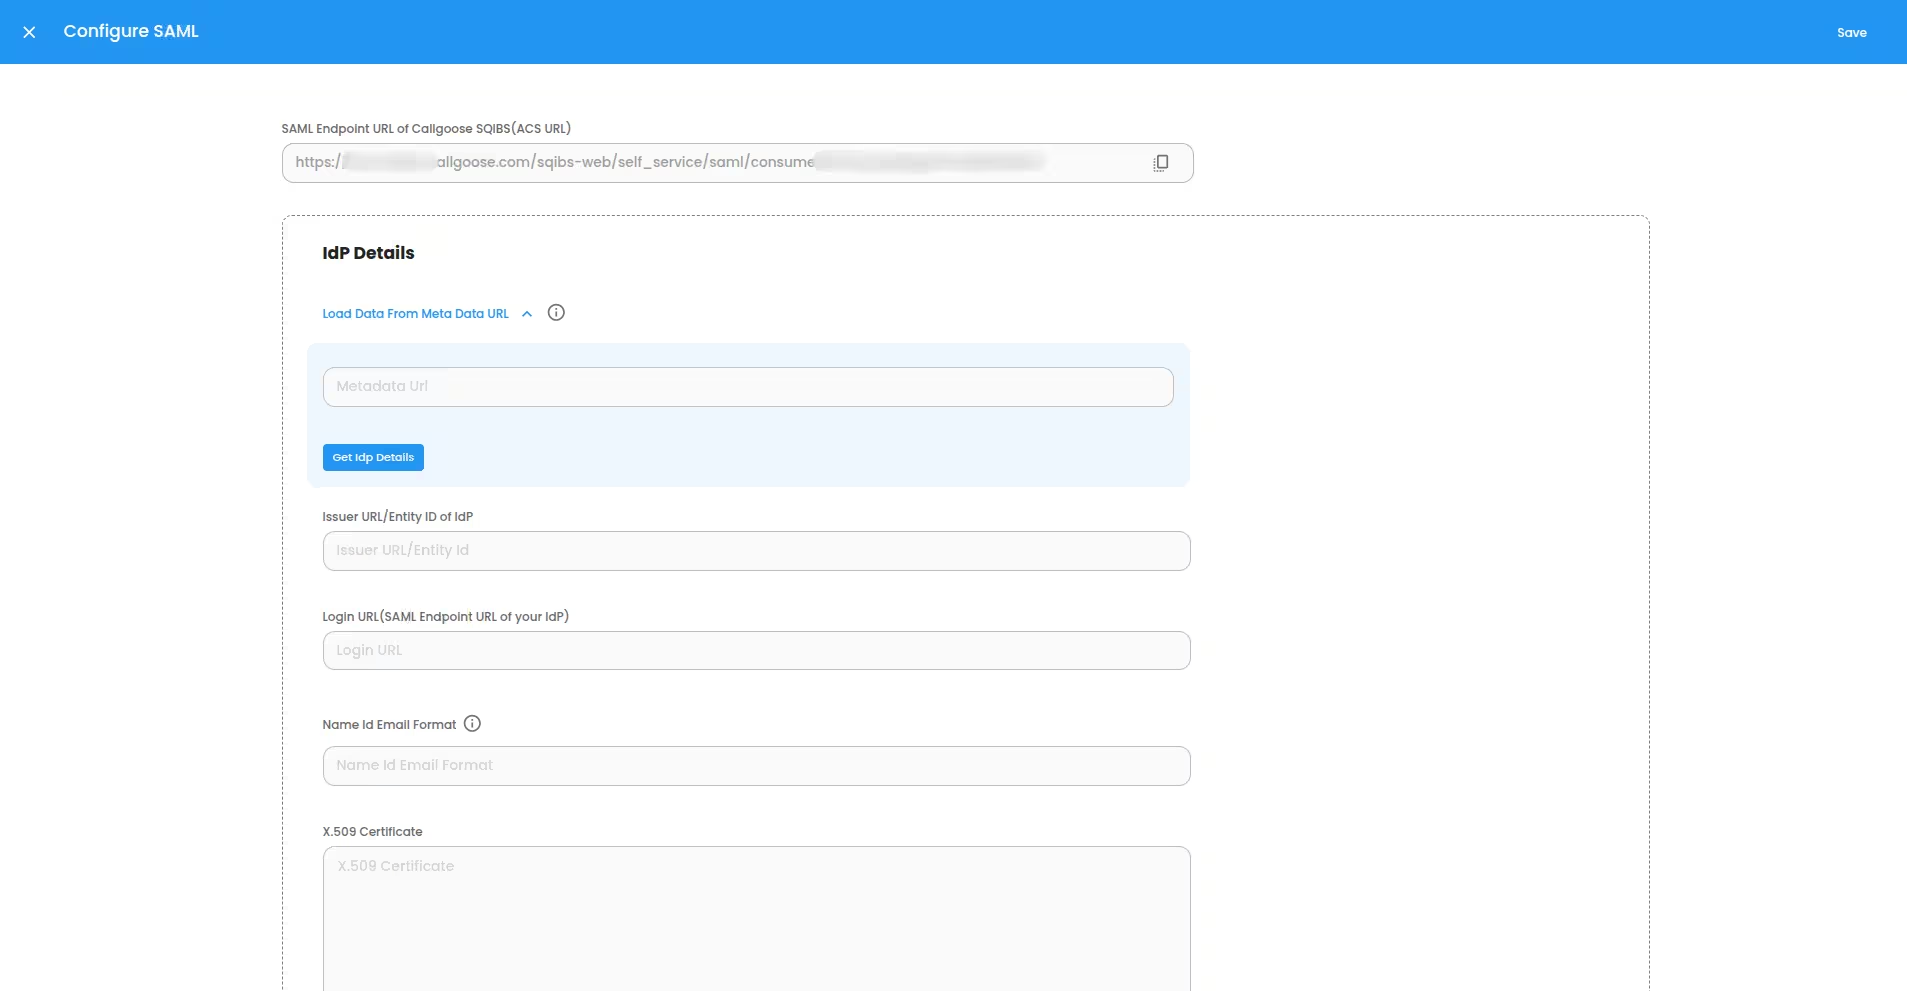
1. Configure SSO provider(IdP) using SQIBS values
Copy the SAML Endpoint URL of Callgoose SQIBS (ACS URL). You will need this value to configure the SSO provider(IdP) settings on their dashboard. This can be used as the "Entity Id" and/or "Sign-in URL", depending on your IdP
2. Configure SQIBS using SSO provider(IdP) values
- If your SSO provider has a meta data URL, you can enter it in the Load data from meta data URL field and click the Get IdP Details button.
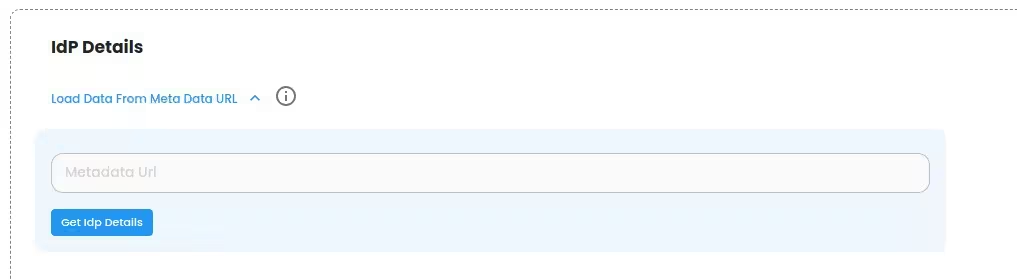
This will automatically fill in the Following fields: Issuer URL (Entity Id of Idp), Login URL (SAML 2.0 EndPoint URL of your IdP), Name Id Email Format,and X.509 certificate.
- If your provider does not have a meta data URL or the URL has no data found, you need copy and paste the following fields from your SSO provider’s dashboard manually: Issuer URL (Entity Id of Idp), Login URL (SAML 2.0 EndPoint URL of your IdP), Name Id Email Format,and X.509 certificate.
- Enter your Organization domain.
Click on the Save button at the top right corner to save the changes.
After setup, your users can sign in using the selected SSO provider, which can be found on the Self-Service Page. Some SSO providers also offer the option to sign in to Self-Service Page directly from their own dashboard.
