Getting Started
Special
SINGLE SIGN-ON
Teams
Users
Escalation Policies
Service
Incident
Request
On-Call Shift
Schedules
Schedule Override
Logs
API
Webhook
Apps Integration
Reports
Preference
Profile
Automation
Self-Service Portal
Mobile App
SLA
FAQ
Create Schedule
How to create an On-Call schedule?
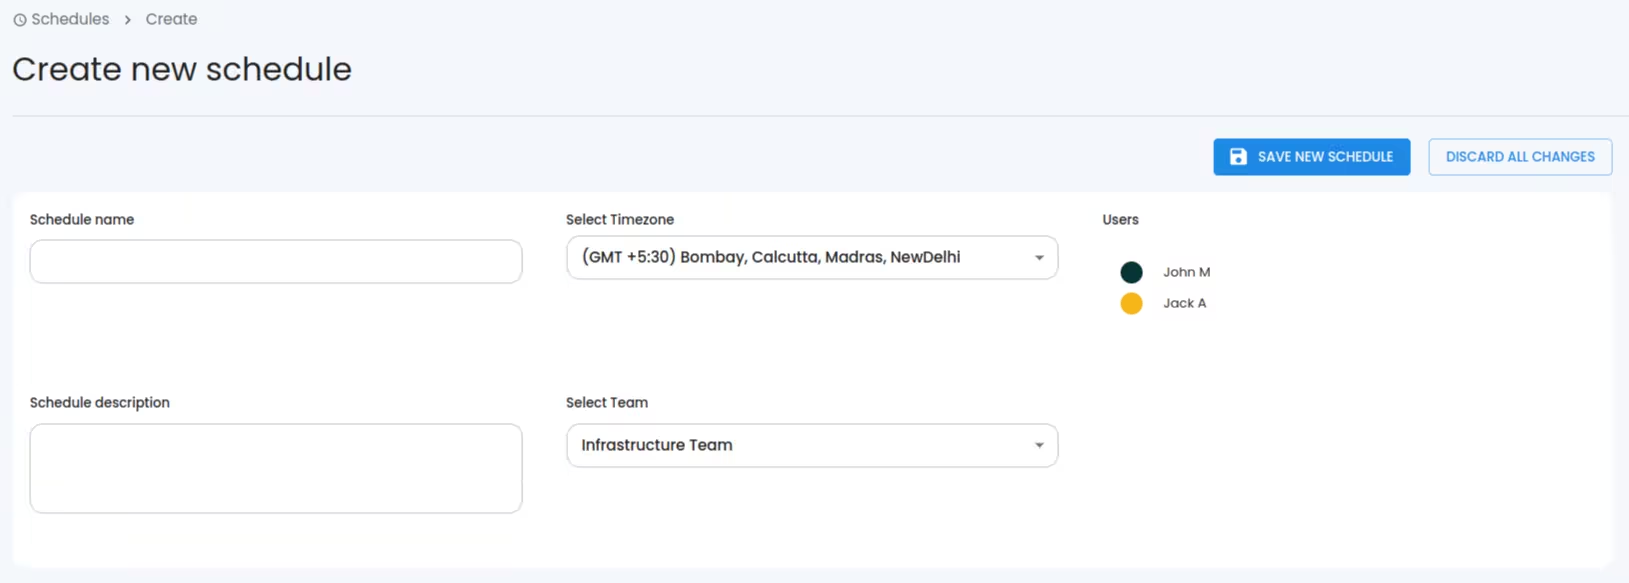
1.Select Create New Schedule button at the top right of the main window. 
2.You can see a new window. Add Name(mandatory), Description (mandatory), select Team and Timezone .
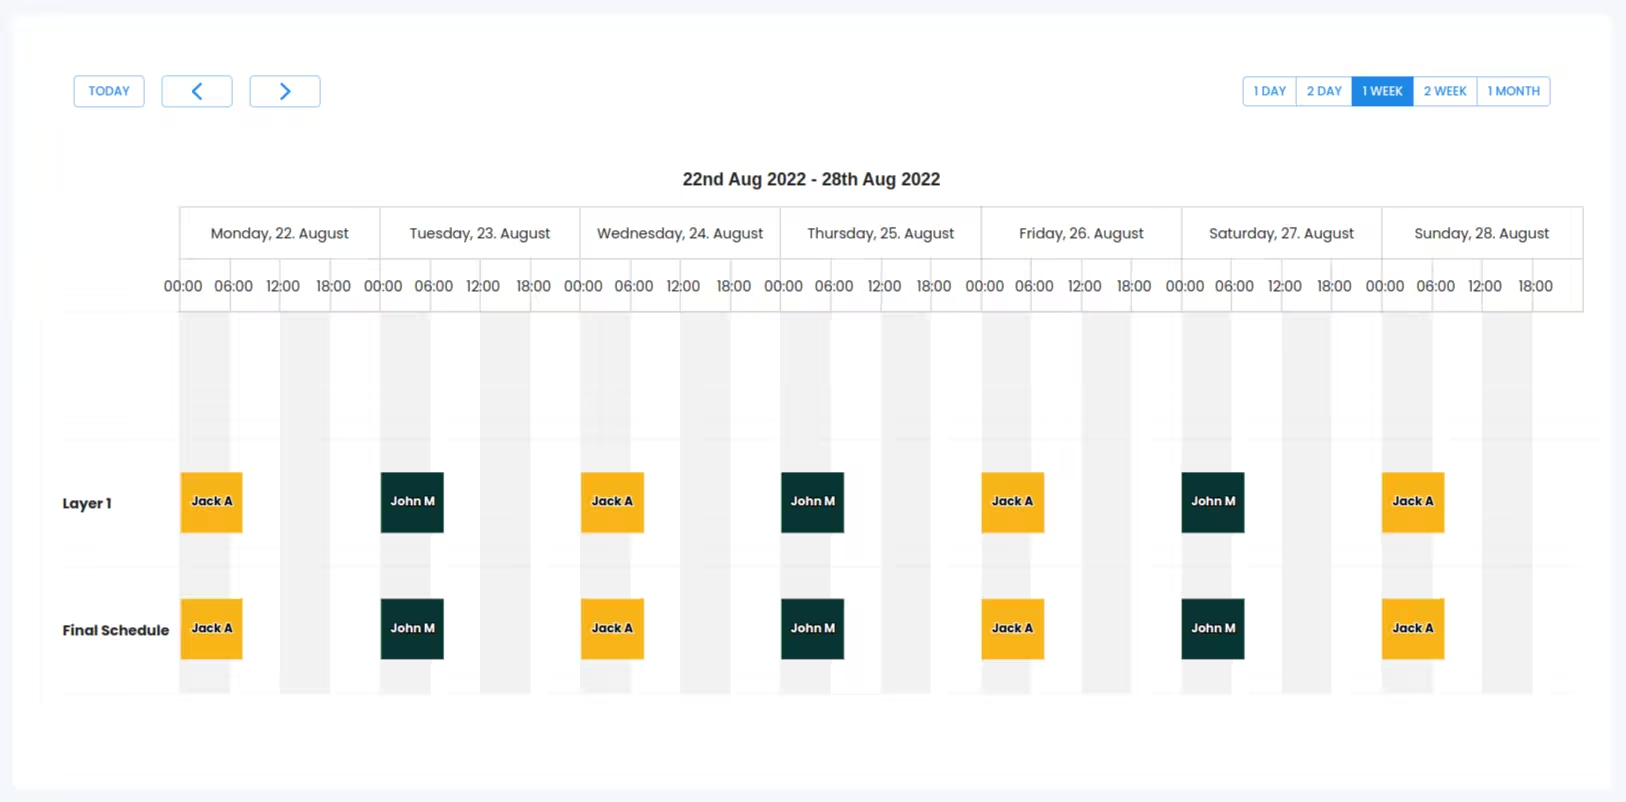
3.Add schedule layers.
- Each layer represents a shift. You can add up to 20 layers.
- The bottom layer has priority over the top layers.
- Each layer has a start time and can be configured to end at a specific time.
- You can configure the shift type (Valid days where the schedule /shift is applicable). Within the Start time and End time, the shift type selects the valid days based on configuration.
- Day - You can choose a specific Start day. And from that day, all future days are valid.
- Week - You can choose weekdays
- Sunday
- Monday
- Tuesday
- Wednesday
- Thursday
- Friday
- Saturday
- Only the selected days will be valid.
- Month - You can choose months
- January
- February
- March
- April
- May
- June
- July
- August
- September
- October
- November
- December
and also specify start and end dates for them. Only the selected days within the date will be valid.
- Select users : Select users accordingly. You can select the same user more than once to keep the on-call rotation that meets your needs if necessary.
- Create on-call rotation: Which defines the on-call rotation of selected users. You can set on-call rotation of any of following.
- Weekly - On-call rotation will take place weekly based on the Start date time.
- Daily - On-call rotation will take place daily based on the Start date time.
- Hourly - On-call rotation will take place each hour based on the Start date time.
- Custom - On-call rotation will take place on each selected Interval and Type based on the Start date and time.
- Configure Time based on-call : If enabled, this shift will be only valid under this time range in a day

4. You can see a preview of the selected Layers at the end.
5.Click the SAVE NEW SCHEDULE button on top.

